Walk-through removing the primary and secondary mirrors for cleaning, maintenance or applying a centre-spot to the primary mirror.
Guide is based on the Celestron AstroMaster 130EQ, but these steps will be the similar for other reflector telescopes.
Removing telescope mirrors for maintenance
Time needed: 15 minutes
Removal of telescope primary and secondary mirrors
- Mark orientation of primary mirror assembly on the rim of the optical tube
First, mark the orientation of the assembly against the outer rim – so that you can reassemble the scope in the same orientation later.
- Remove the optical tube and lay on a clean flat worktop with space to work comfortably
Remove the optical tube assembly (the body of the telescope) and lay it horizontally on a table with sufficient space to work comfortably.
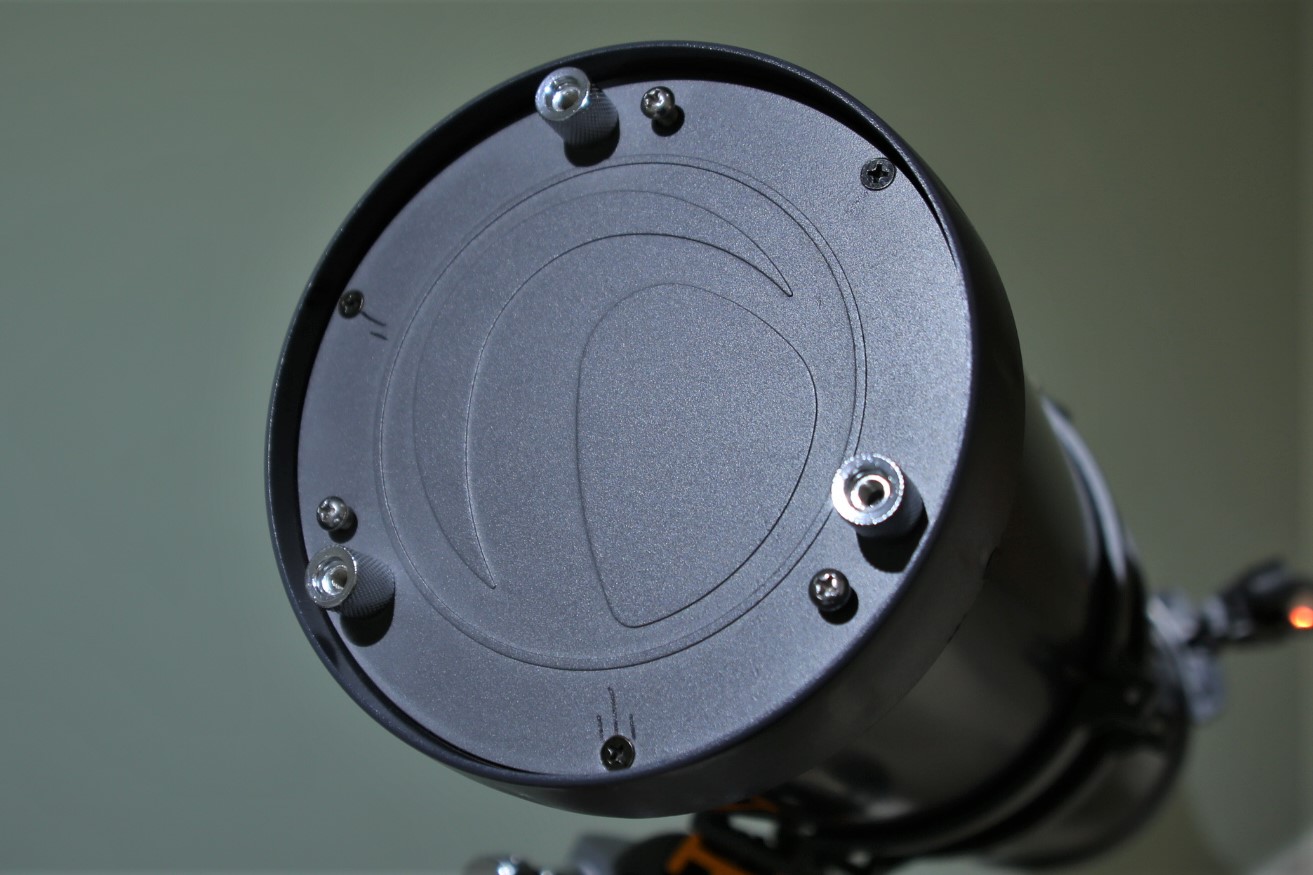
- Remove the primary mirror assembly from the optical tube assembly
Support the base of the primary mirror assembly (this is the round metal base at the closed end of the telescope). Support it with one hand and remove the three flat, black, cross-headed screws with the other.
Gently remove the mirror assembly – you can ease this out with the other screws/thumbscrews. Ensure you support it throughout the manoeuvre – do not drop it as it comes out of the base of the optical tube assembly.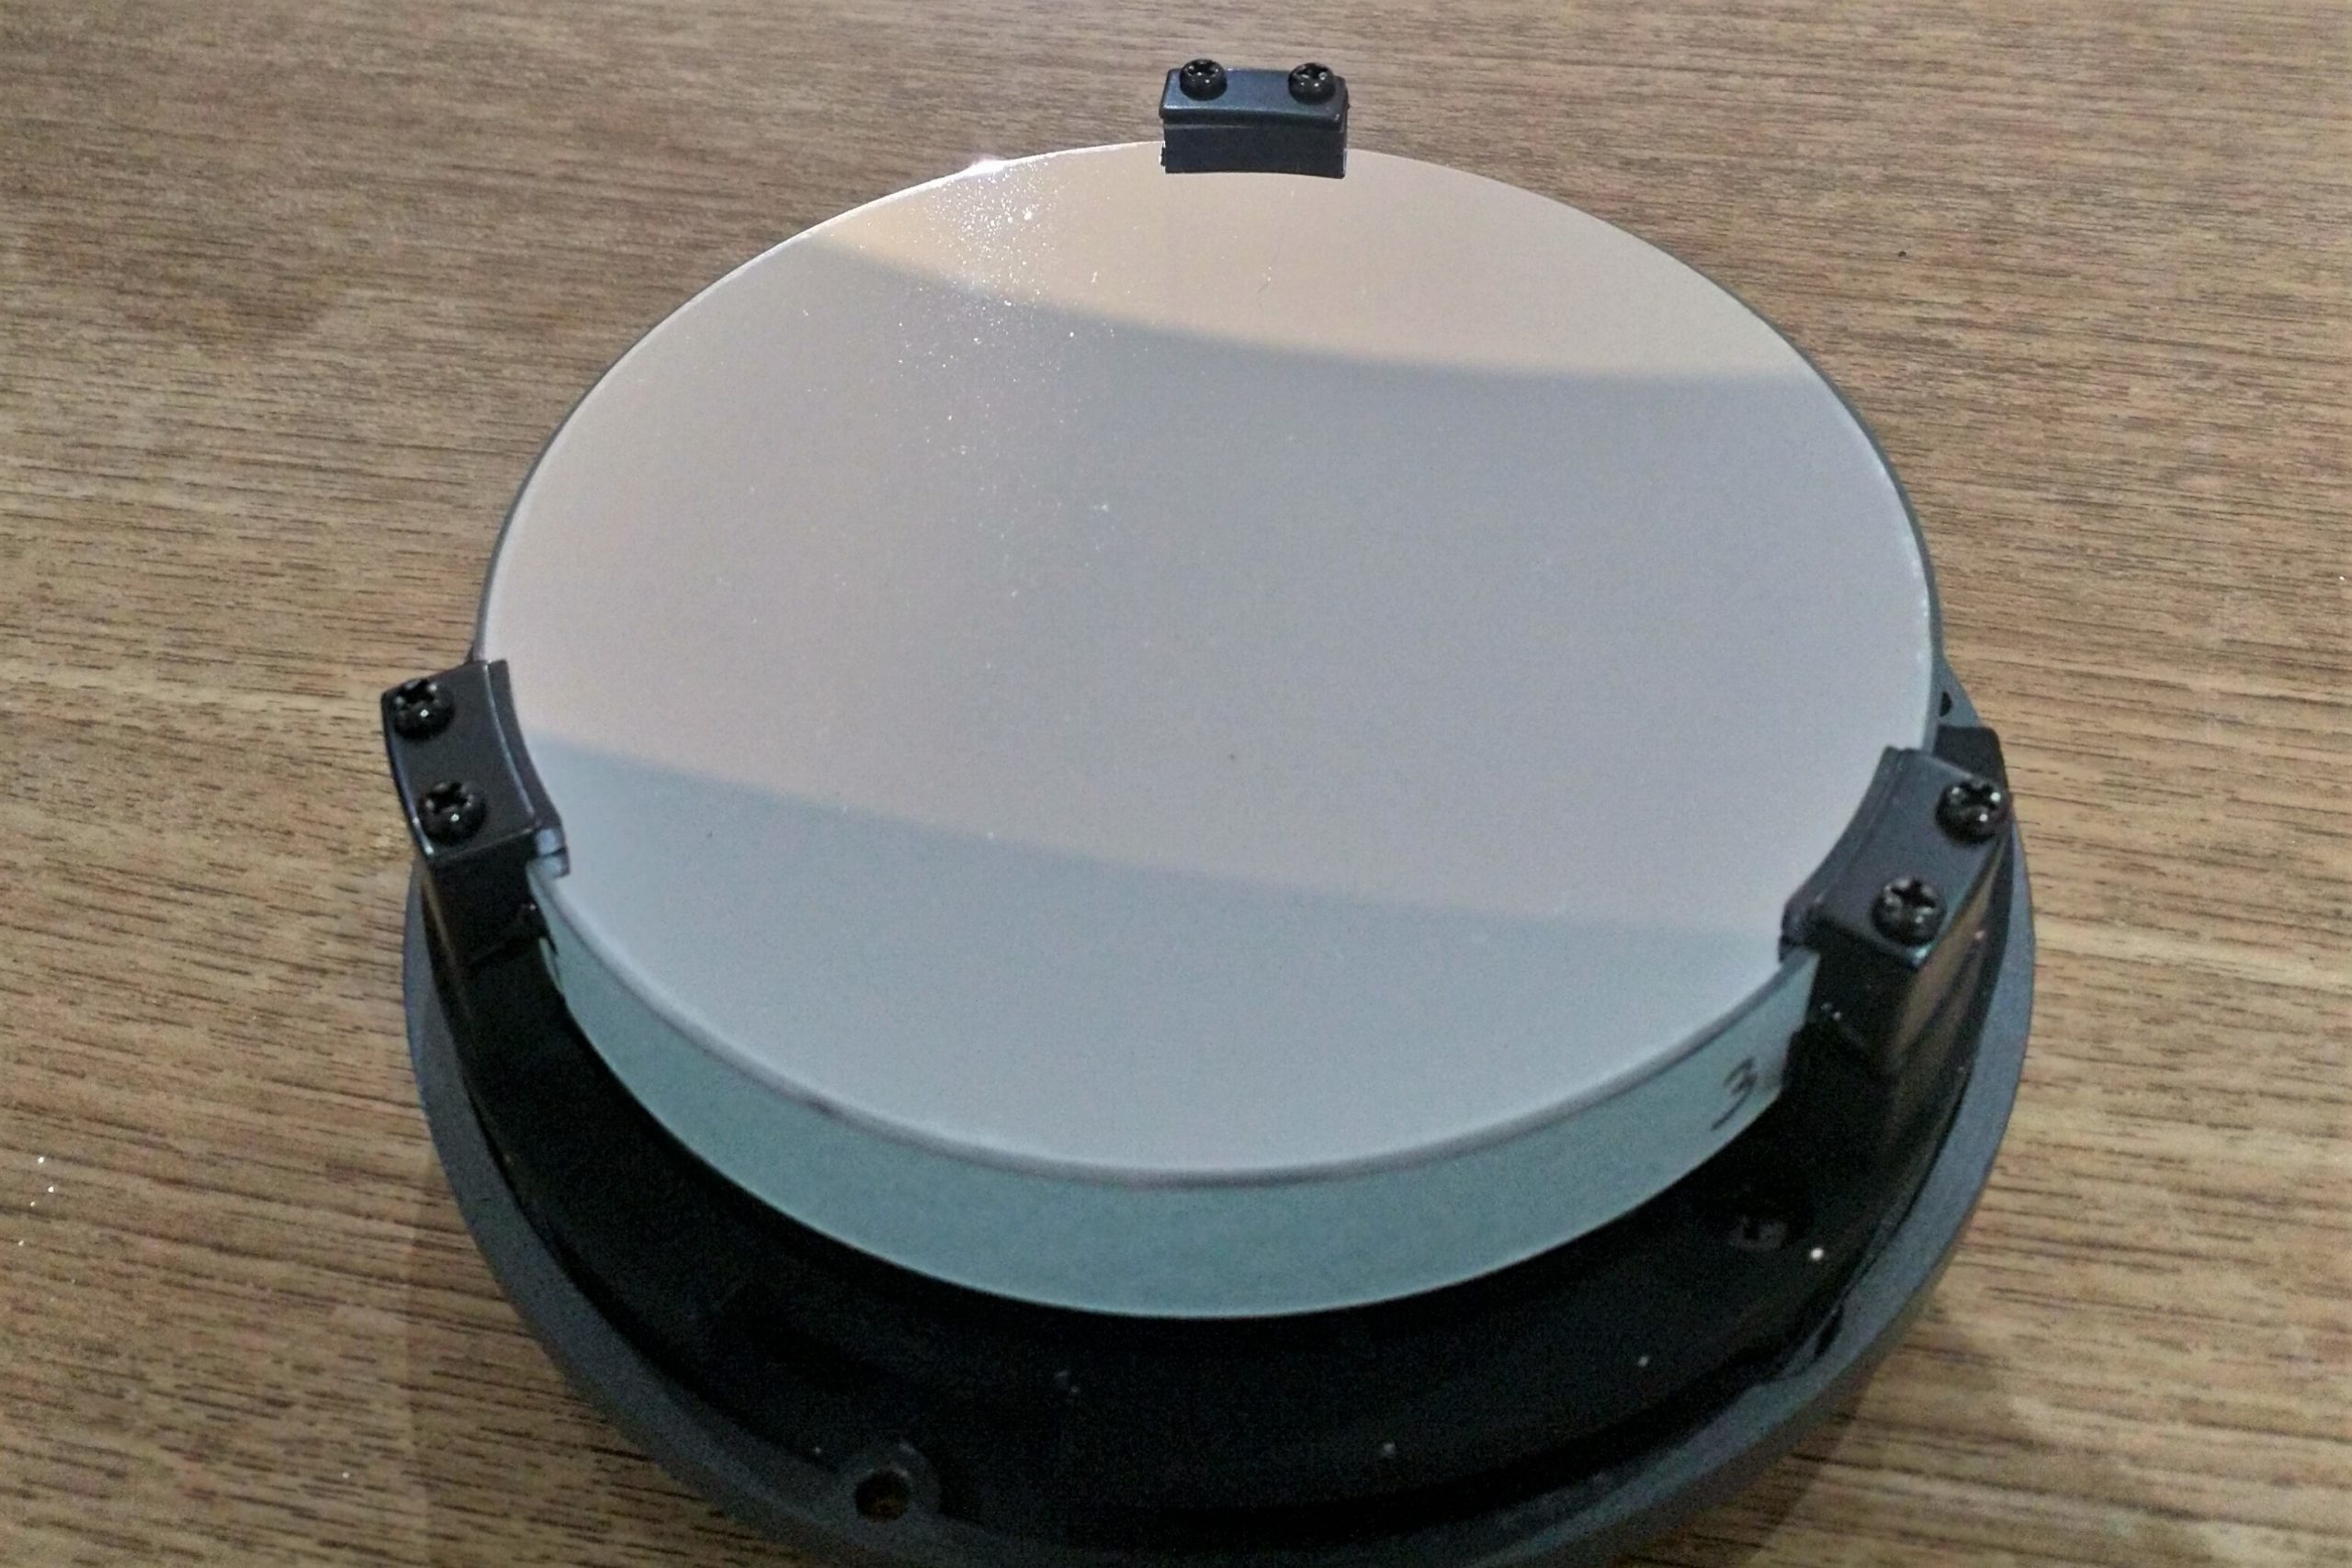
Image shows the Celestron AstroMaster 130EQ primary mirror assembly removed from the optical tube assembly. - Mark orientation on mirror and clips
Mark the orientation of the mirror against the clips and the side of the mirror. This is so that you can reassemble it in the same orientation later.
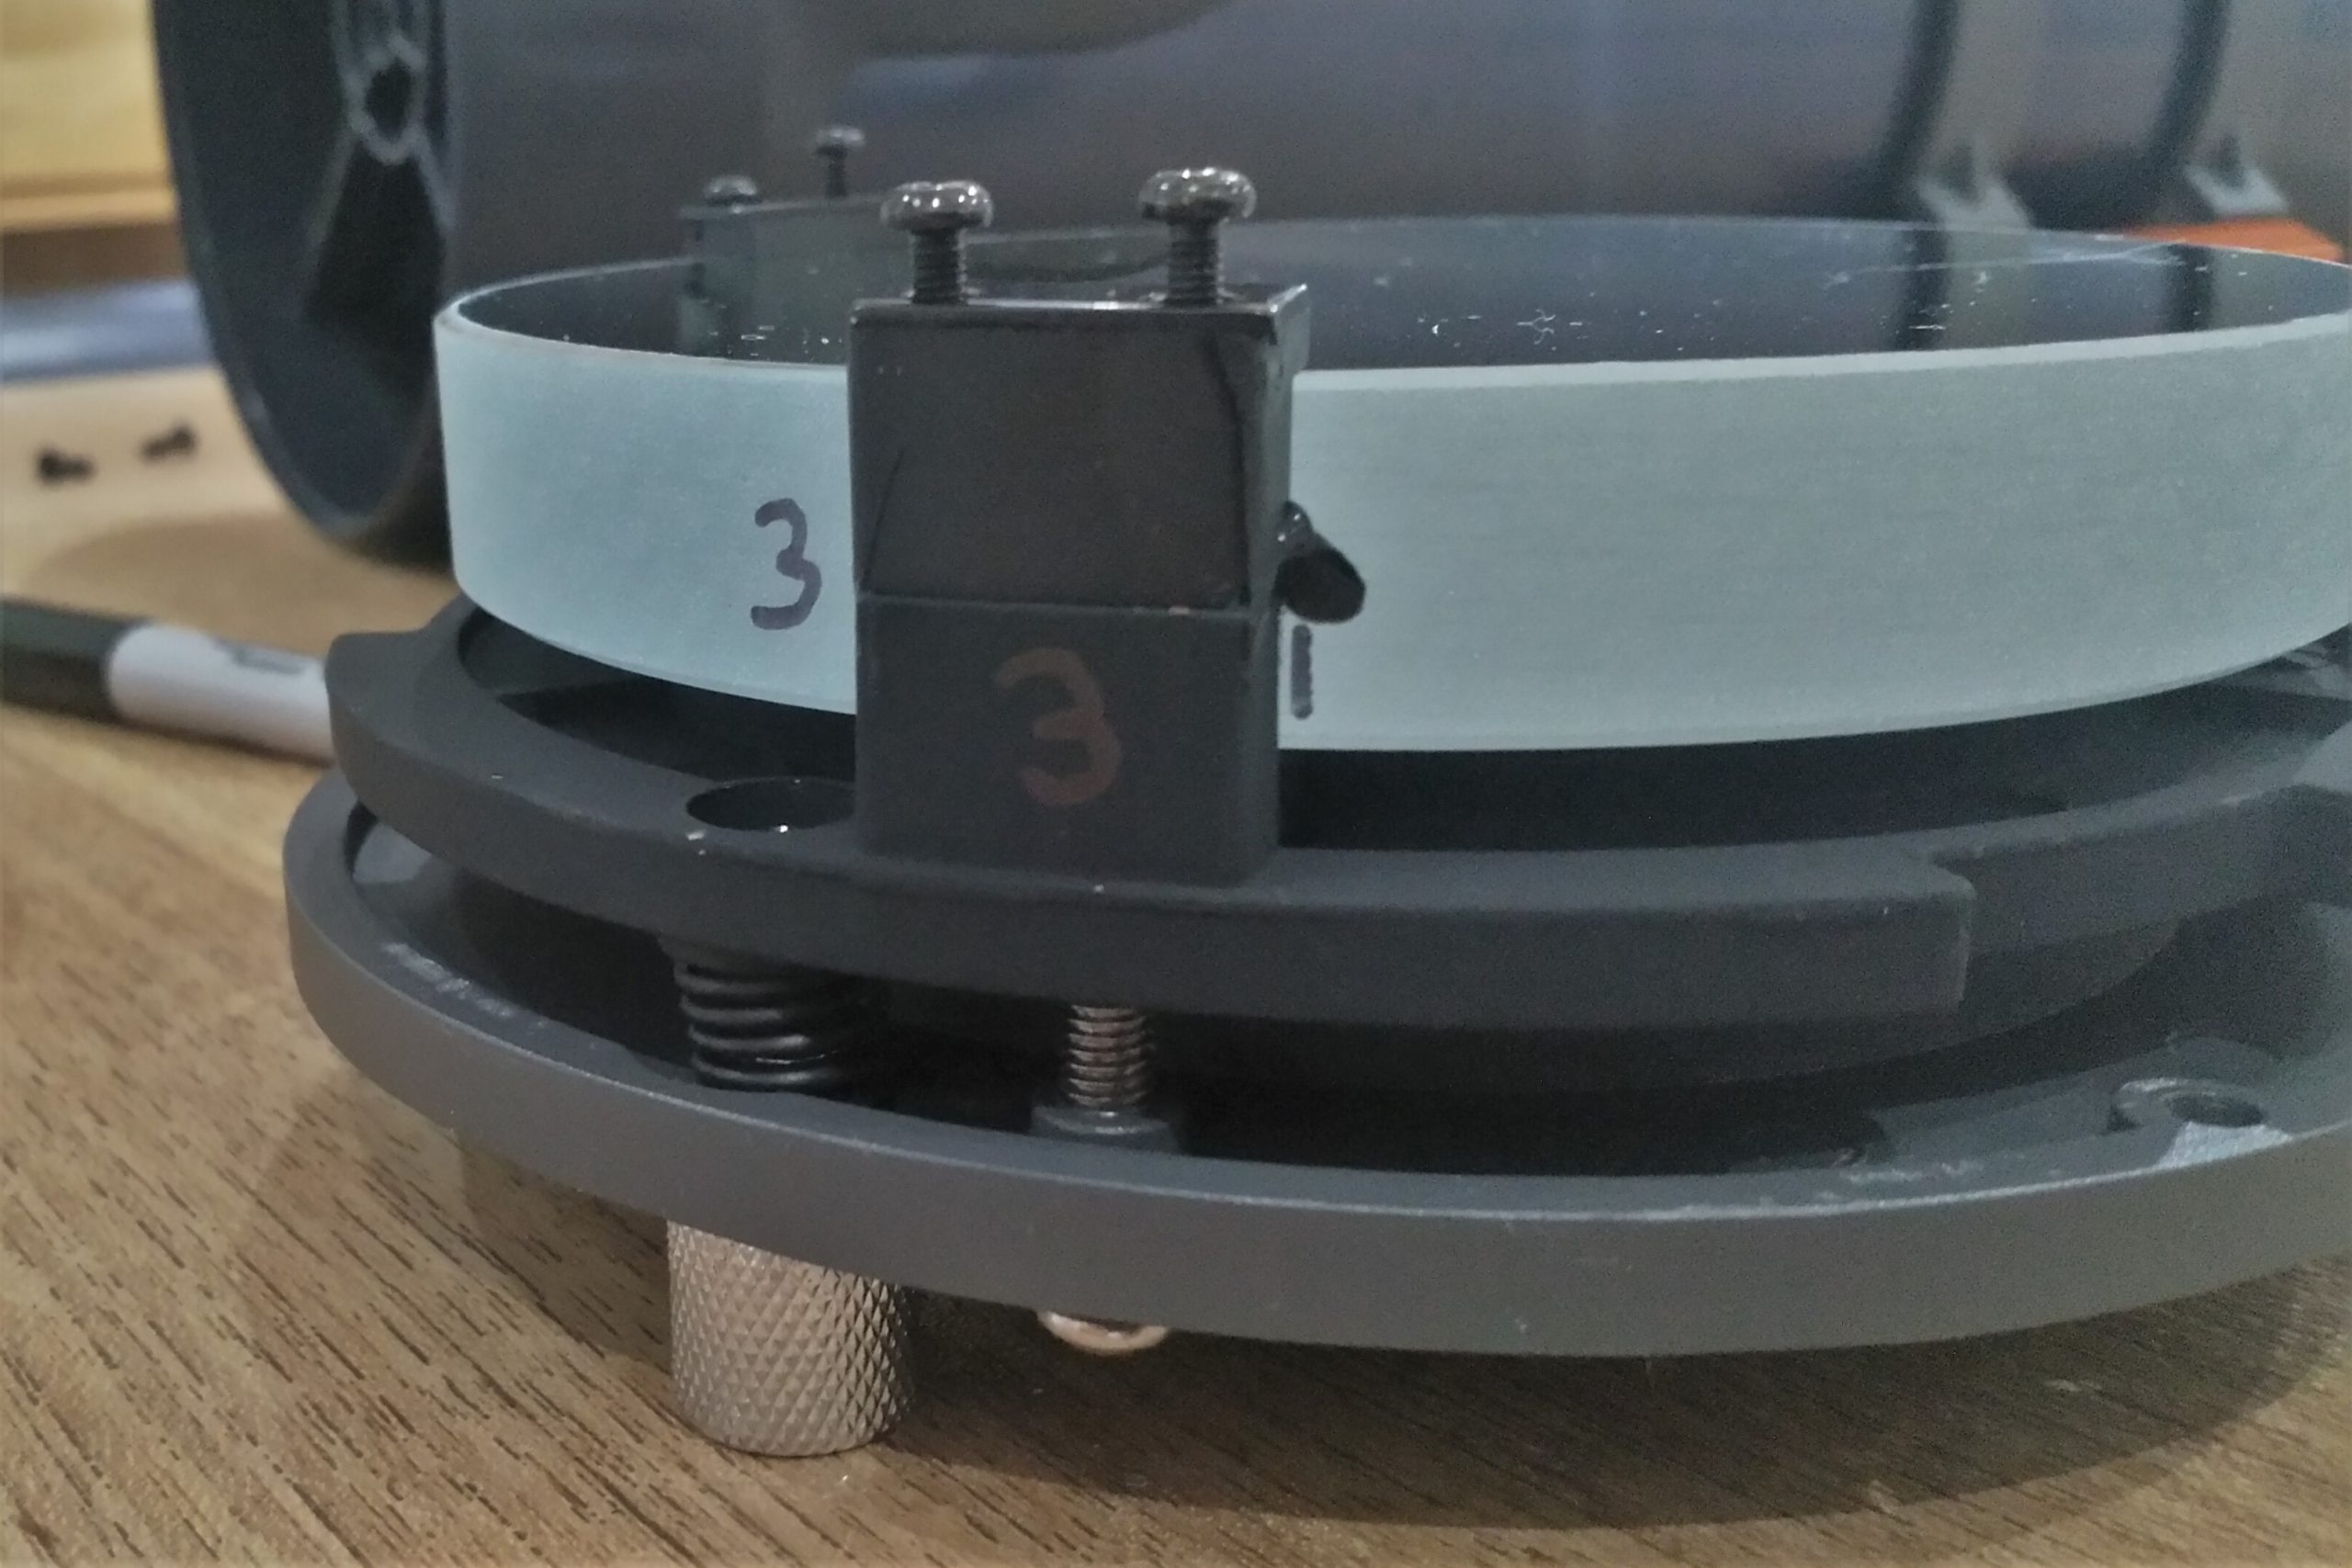
- Unscrew and remove the three mirror clips
Undo the two screws from the top of the three mirror clips – there are six screws in total. Then gently remove each of the three clips.

- Remove the primary mirror from the primary mirror assembly
Carefully lift the primary mirror from the assembly without touching the mirror surface.
Factory supplied, there may be some wax-like material holding the mirror in place – as you remove the mirror this should come loose quite easily.
Image shows the Celestron AstroMaster 130EQ primary mirror separated from the primary mirror assembly. - Locate secondary mirror assembly and hold the rear of the secondary mirror
Locate the secondary mirror assembly – the wedge shape at the open end of the optical tube – below the vanes that hold it in place.

Place a hand inside the tube between the vanes on the opposite side to the eyepiece/focuser assembly and behind the assembly/wedge.
Hold the rear of the secondary mirror holder/wedge – do not touch the mirror surface. - Unscrew the secondary mirror holder
Unscrew the central screw from the secondary mirror adjustments at the centre of the vanes. The secondary will quickly become loose and start to tilt and twist. This is not a problem – just hold it securely so that you do not drop the mirror inside the tube. As you continue to unscrew the secondary mirror will slowly descend down the tube towards the primary mirror – after a centimetre or two it will come off the thread and be loose in your hand.

- Remove the secondary mirror between the vanes
Keep holding the secondary mirror assembly/wedge securely while you put the screwdriver down and can negotiate removal of the secondary assembly from the tube. Be careful not to touch the mirror surface in the process.
You will need to pass the assembly from one hand to the other through the vanes in order to remove it – so handle it carefully and securely.
Image shows the Celestron AstroMaster 130EQ secondary mirror on the secondary mirror holder (the wedge shape) – removed from the tube.
Tip: if you have not centre-spotted your primary mirror then now is a perfect time to practice positioning the centre spotting template before cleaning.
What next?
Now that you have removed your primary and secondary mirrors you may wish to:
Reassembly
Reassembly is the reverse process to the mirror removal steps.
Use the marks made earlier on the clips/mirror-sides to re-install the primary mirror into the mirror assembly in the original orientation.
Tighten the mirror clips slowly and carefully – tightening all clips evenly in turn to ensure that equal pressure is applied between the two screws on each as well as between each clip across the mirror. If excess pressure is applied the mirror can become distorted. The clips need to be secure, but not overtight.
Reposition the mirror assembly within the optical tube – again, using the marks made on the assembly and optical tube to place the assembly back in the original orientation.
To reinstall the secondary mirror assembly carefully manoeuvre into the optical tube through the vanes and hold the wedge with one hand while tightening the central screw with the other hand – ensuring no contact is made with the mirror surface.
Now that you’ve reassembled your telescope you will need to carry out mirror alignment and collimation.